Photogrammetry Development
Over the past twenty years I’ve been out and about in Folkestone, photographing and collecting references from the local environment.
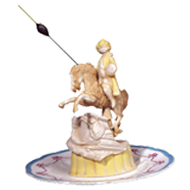
My interest has always been in how texture, colour, and atmosphere carry through time — the look and feel of the town in from the interiors and structures established around the mid-century onwards that still functioned through to the early 2000s.
The patina, the grime, the lived-in qualities of places: classic cafés, funfairs, bingo halls, the ferry port terminal, and the logistical infrastructure that underpins the town. All of this builds up a sort of forensic sense of place that I’ve wanted to carry into my work.
The camera has been central to this. By sampling directly from the environment I can reconstruct elements of Folkestone’s landscape without having to build them entirely from scratch. This approach lets me “resurrect” aesthetics inside virtual spaces in a way that would have been almost impossible before photogrammetry became so accessible.
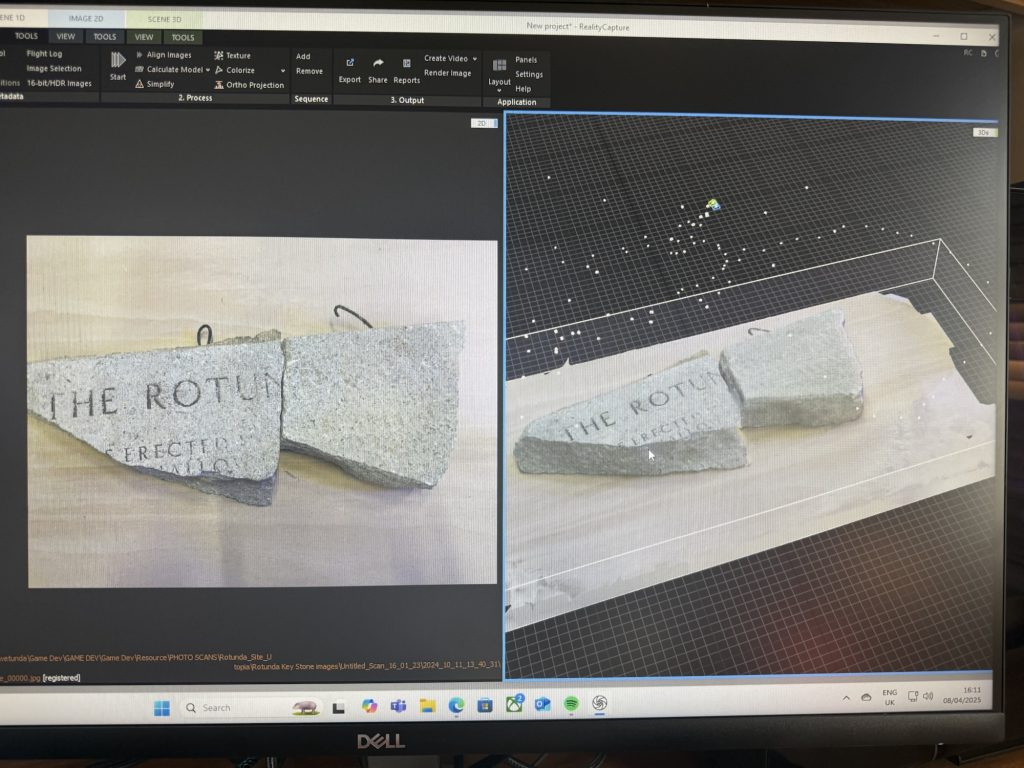
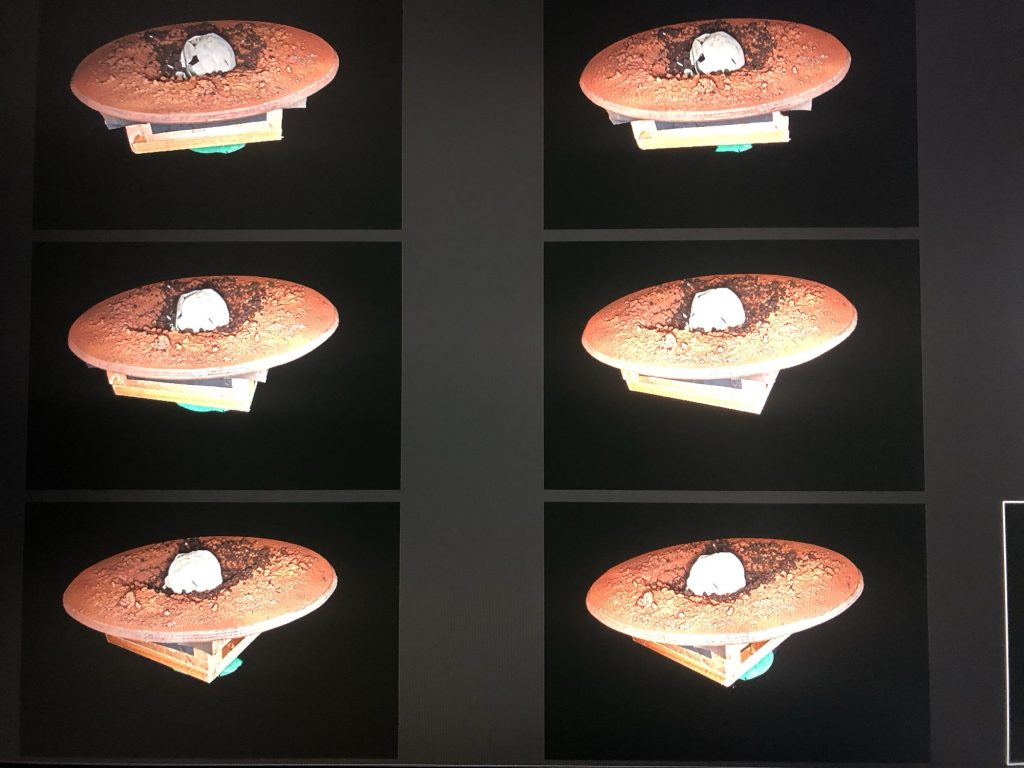
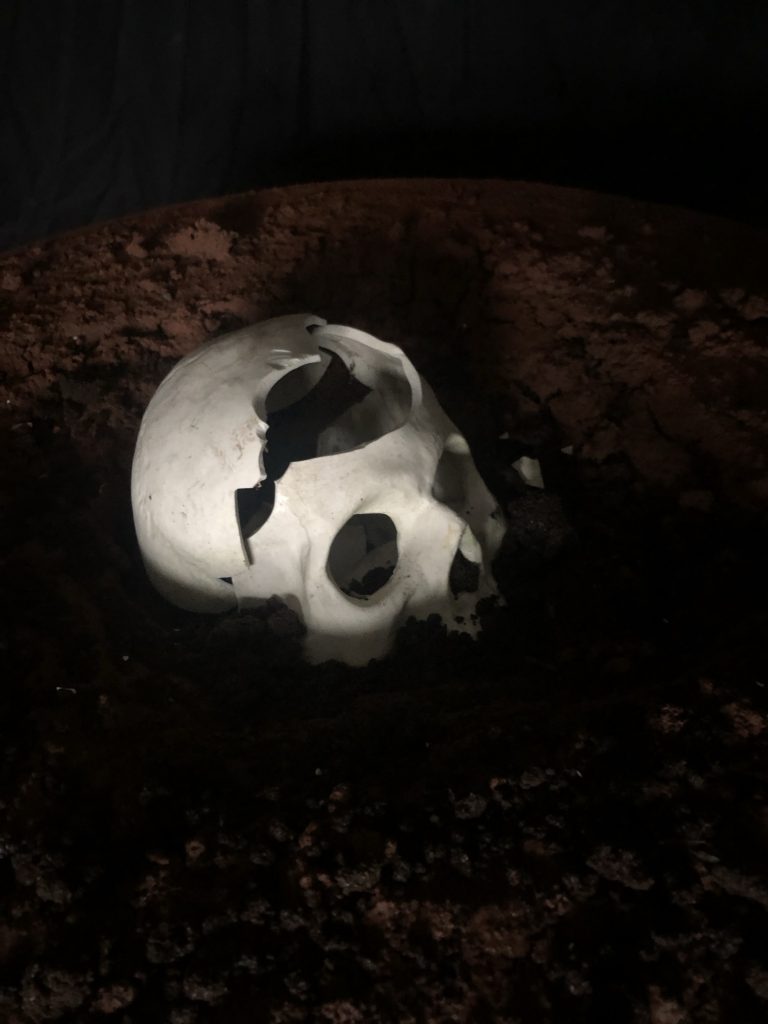
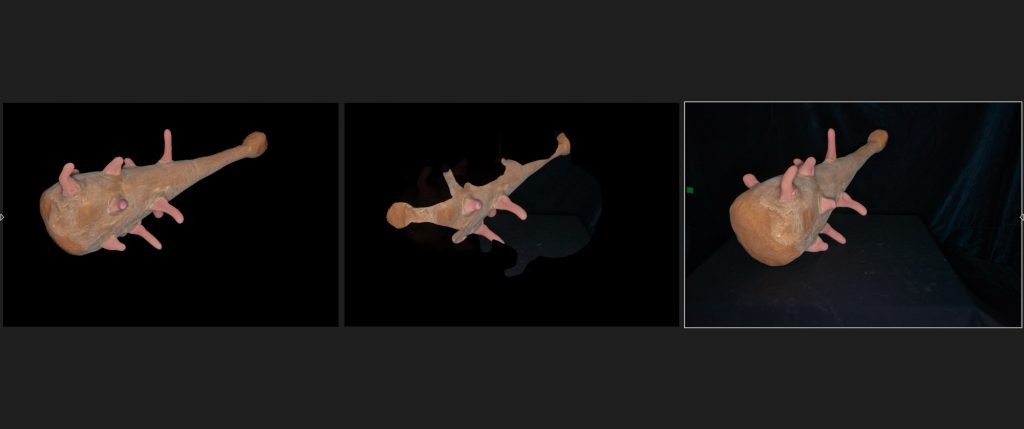
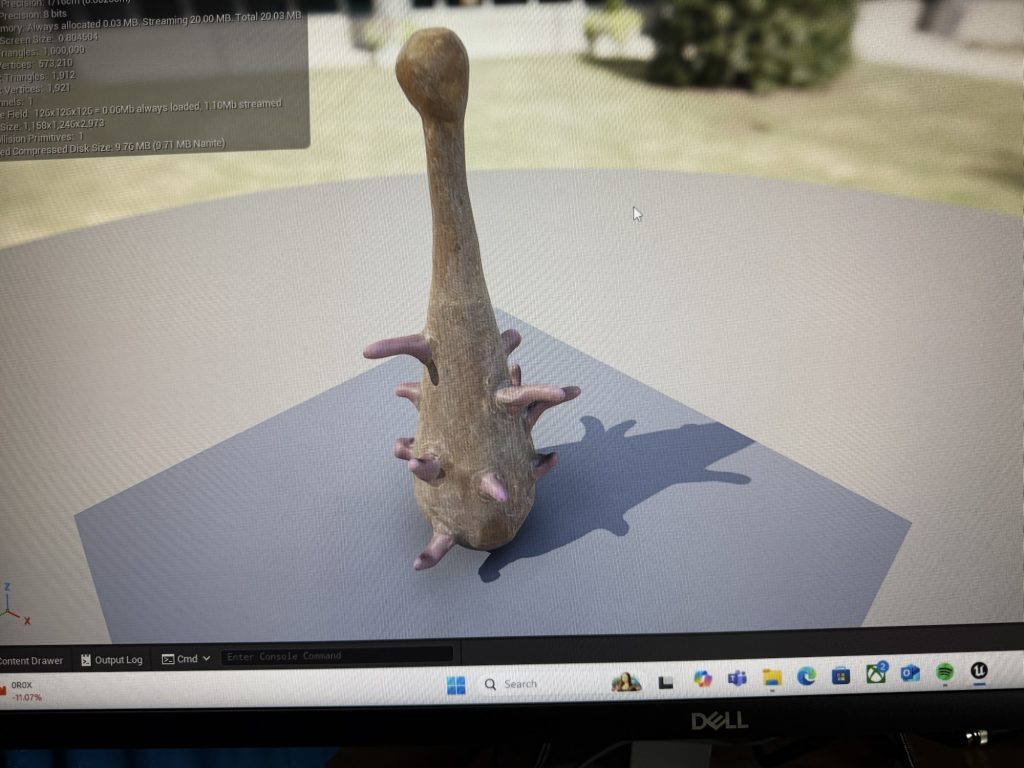
I’ve been working with RealityScan, RealityCapture, and other software to piece together these fragments. In the next section I’ll show some of the workflow I’ve been using to develop the Nose Club talisman. One of the key steps has been cross-polarised lighting, which strips out as much reflectivity as possible. Reflections are basically lost data in this process, so shooting dry, flat surfaces gives me far better scan results.
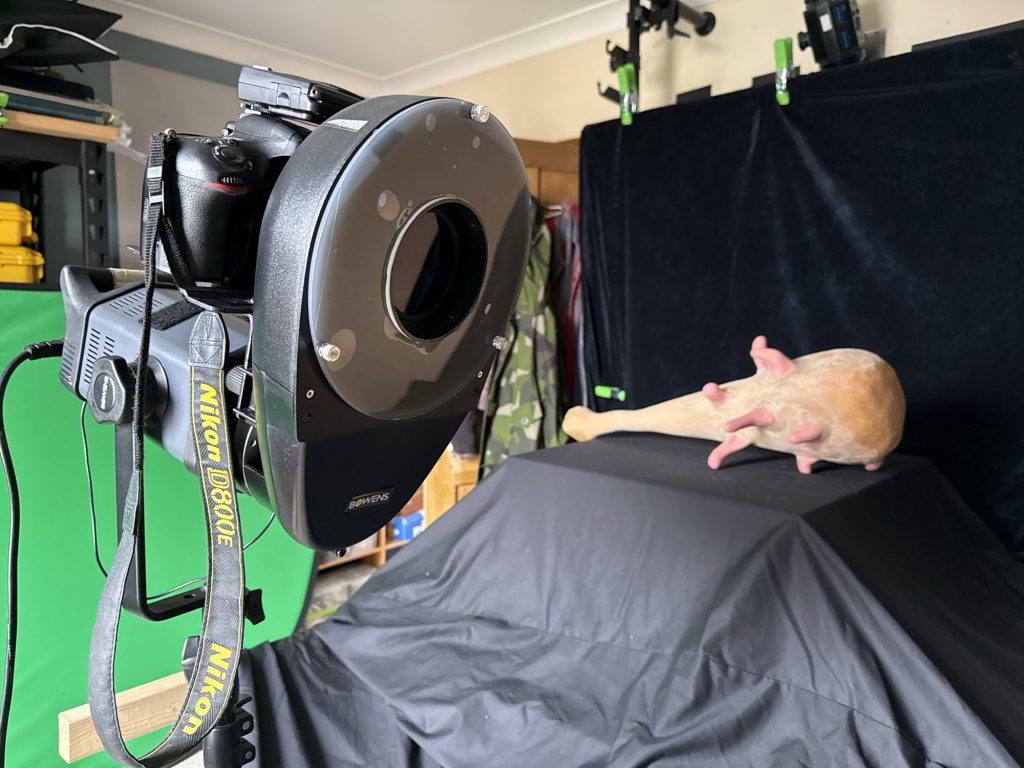
What follows are some grabs of the setup I’ve been using, along with the basic equipment that makes this work. It’s not elaborate — but it’s enough to capture the character of these textures and bring them into the virtual environment.
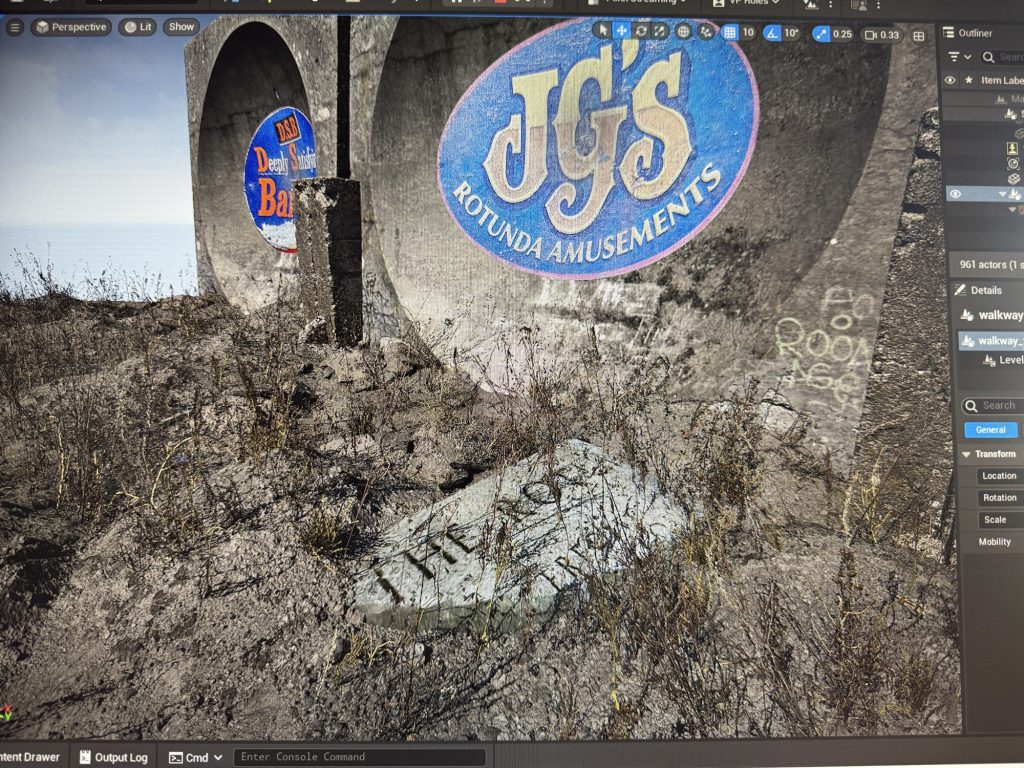
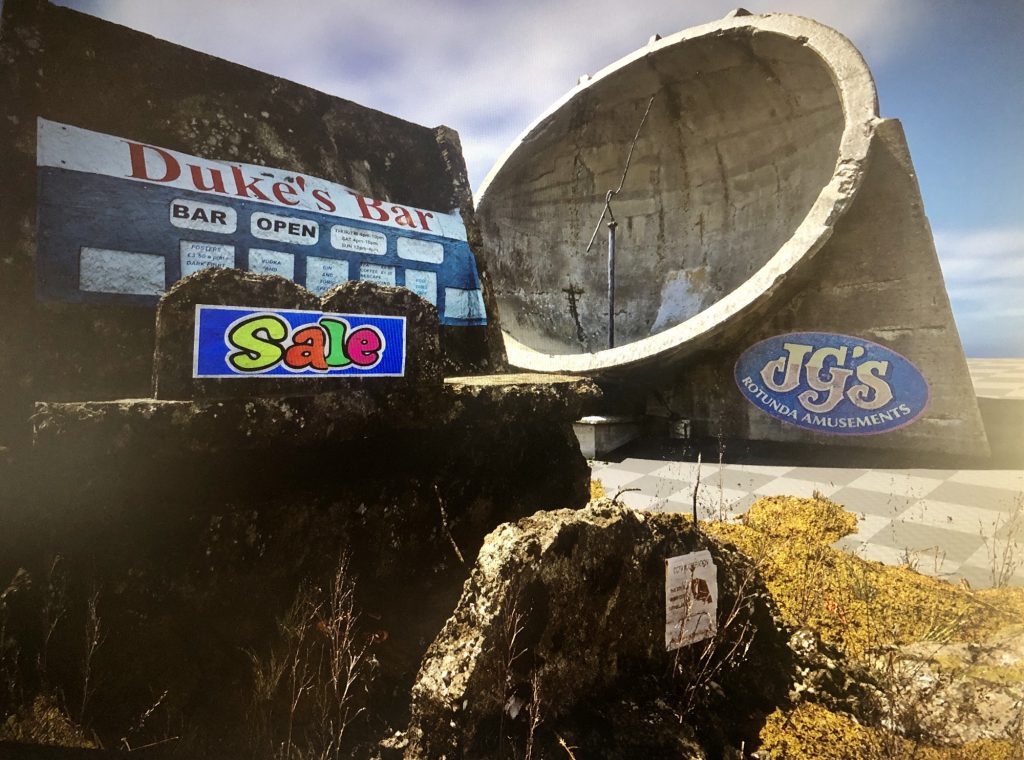
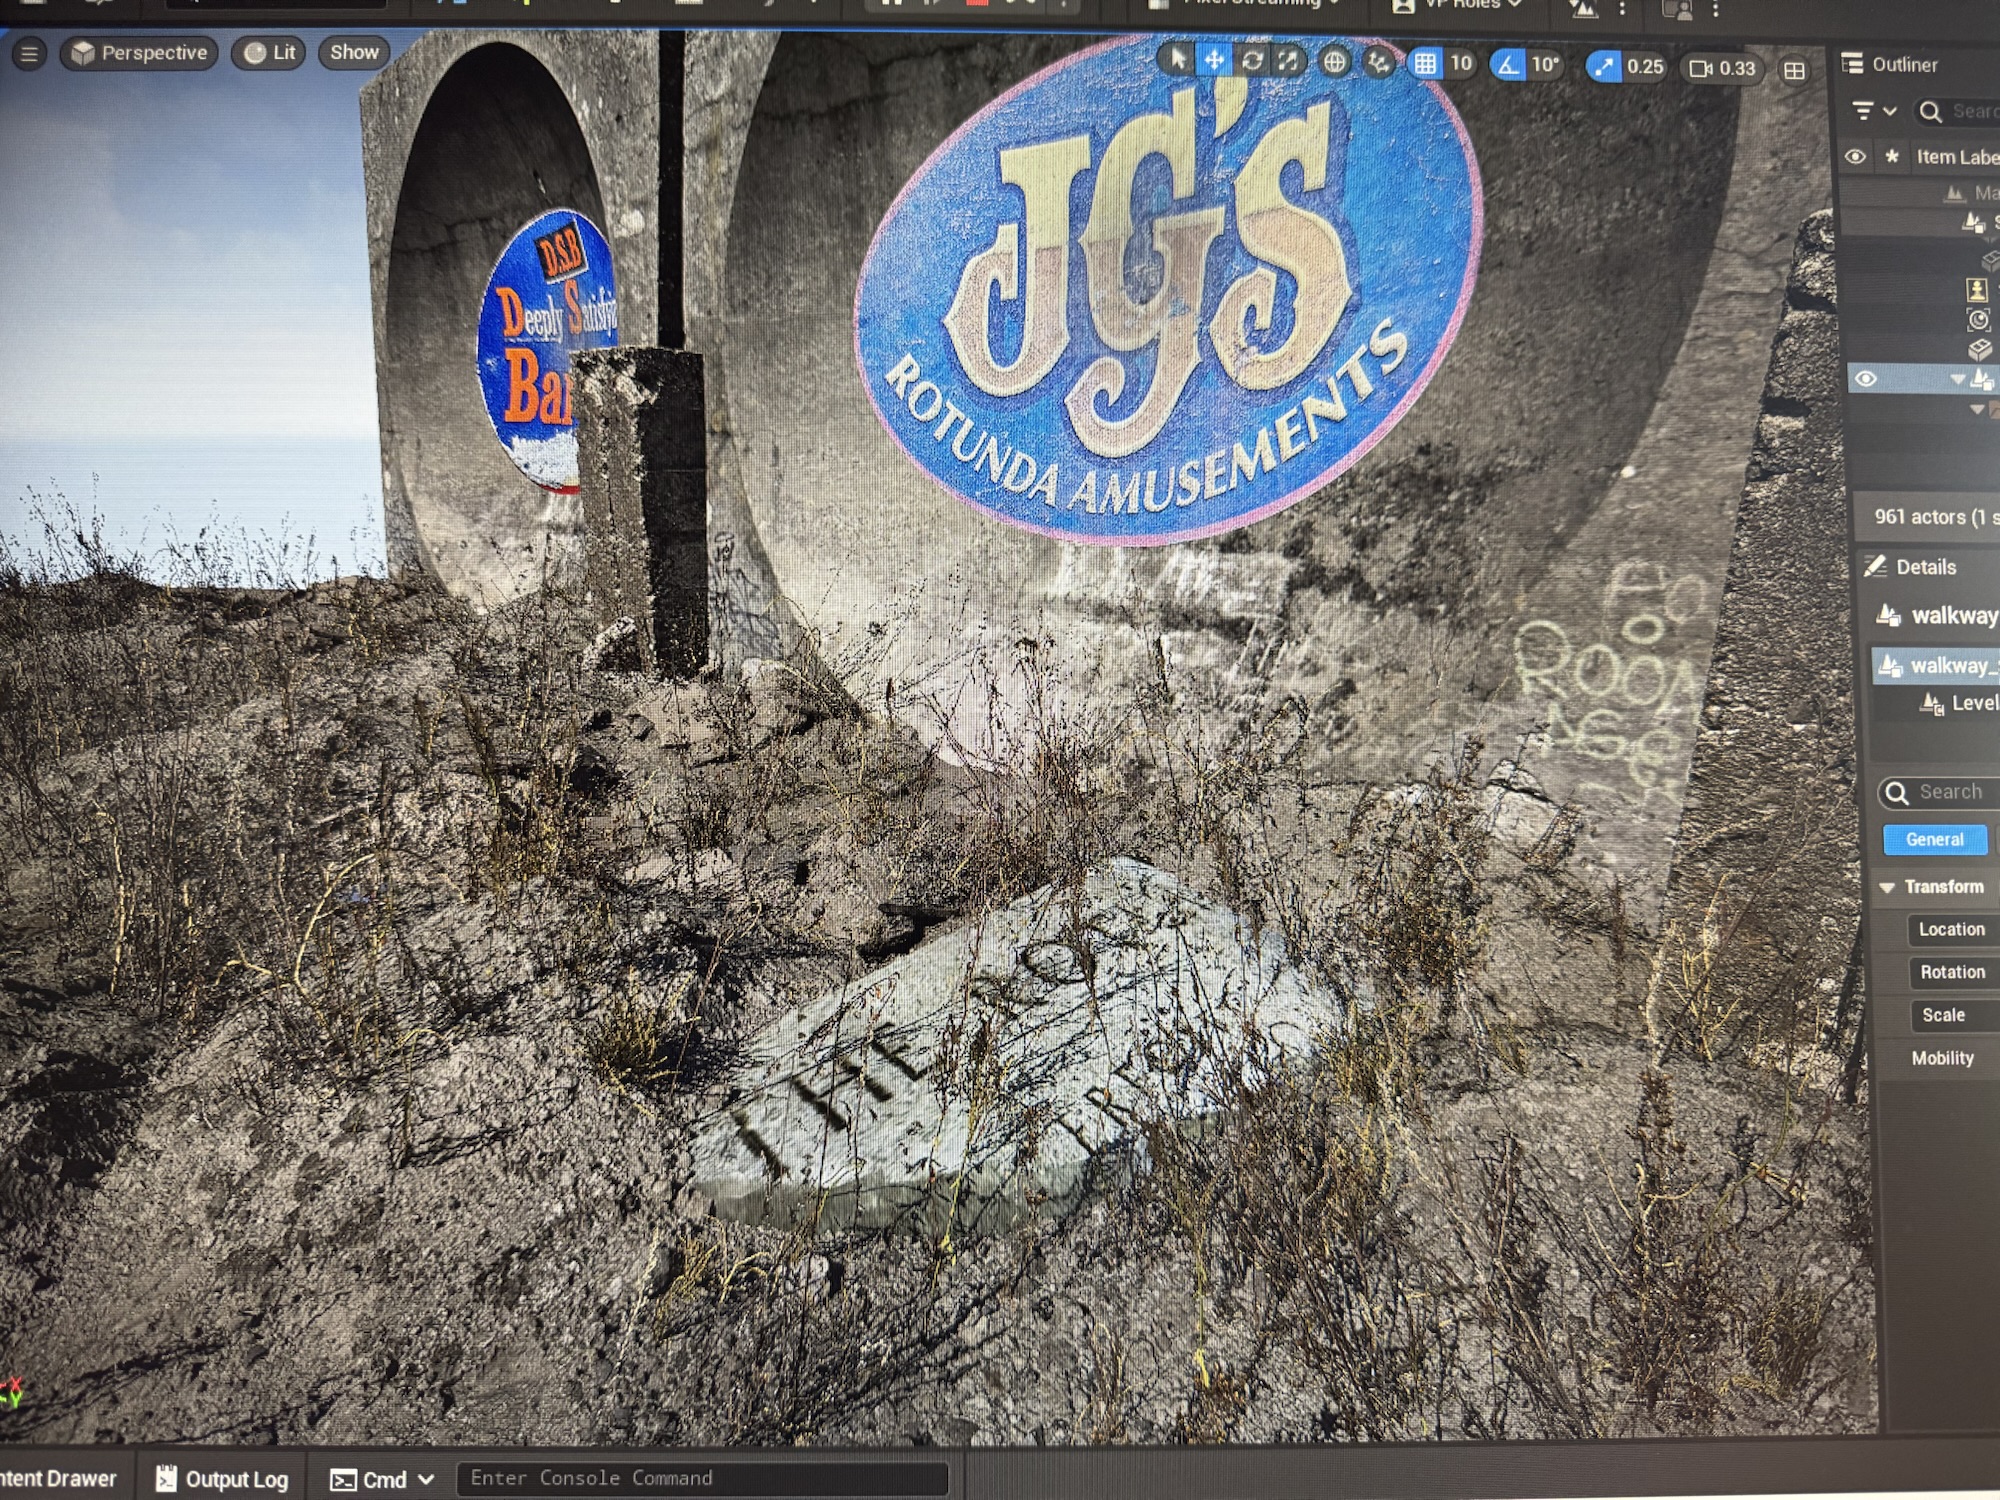
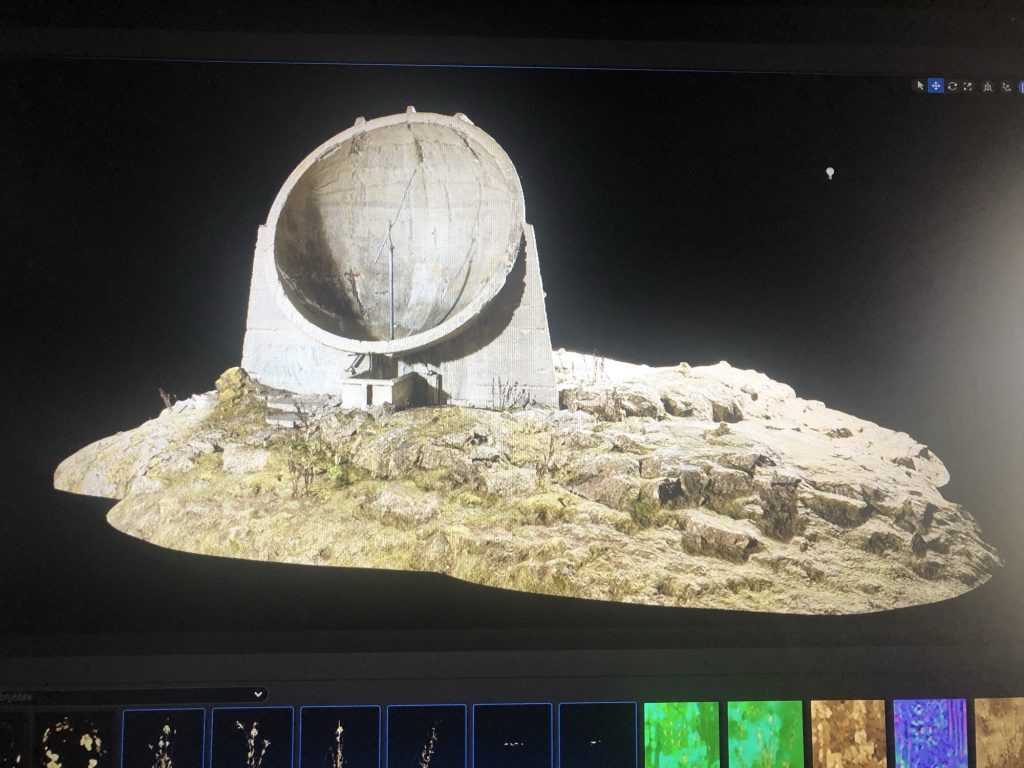
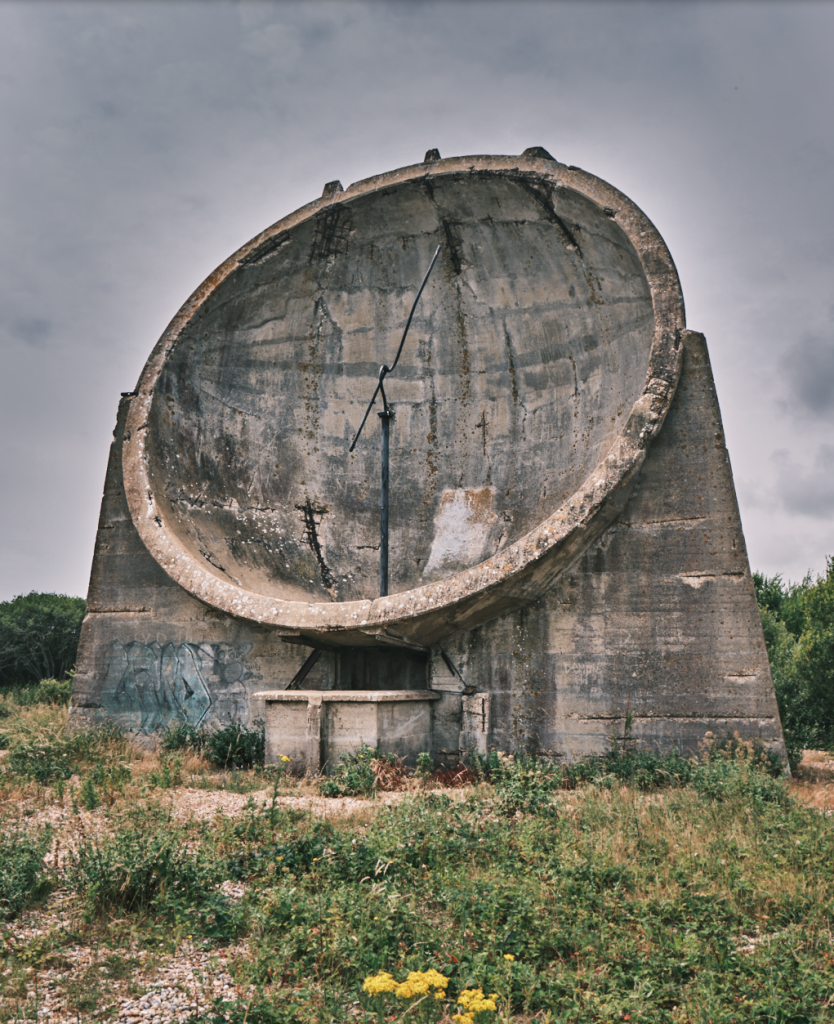
Alongside objects, I’ve also been scanning exterior sites – places where architecture and landscape carry their own strange, half-forgotten atmospheres. Using a combination of drones and still photography, I’ve built high-quality photorealistic assets from locations such as the sound mirrors at Dungeness and the cliffs at Abbots Cliff. These scans let me anchor the work in real topographies, pulling textures and surface detail straight from the environment and feeding them back into the digital spac
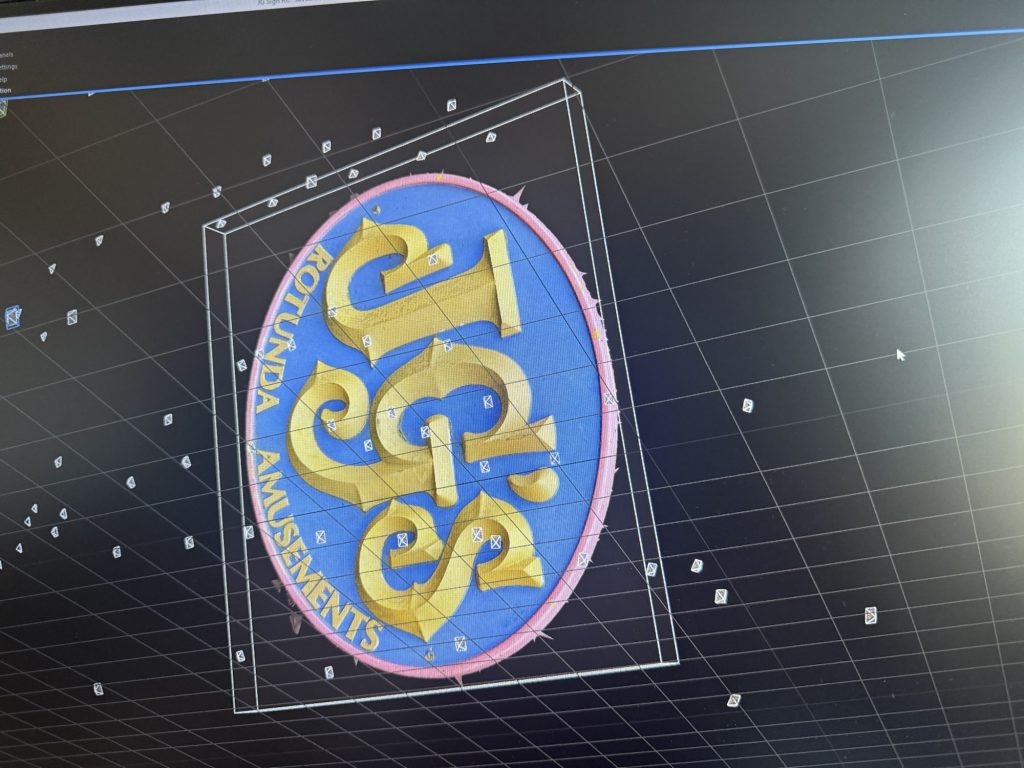

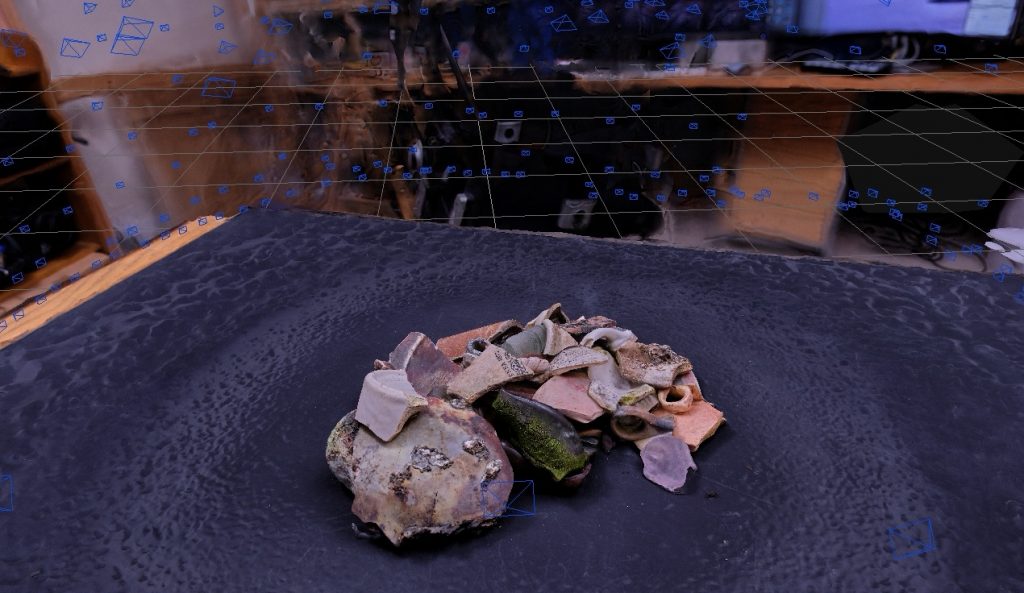
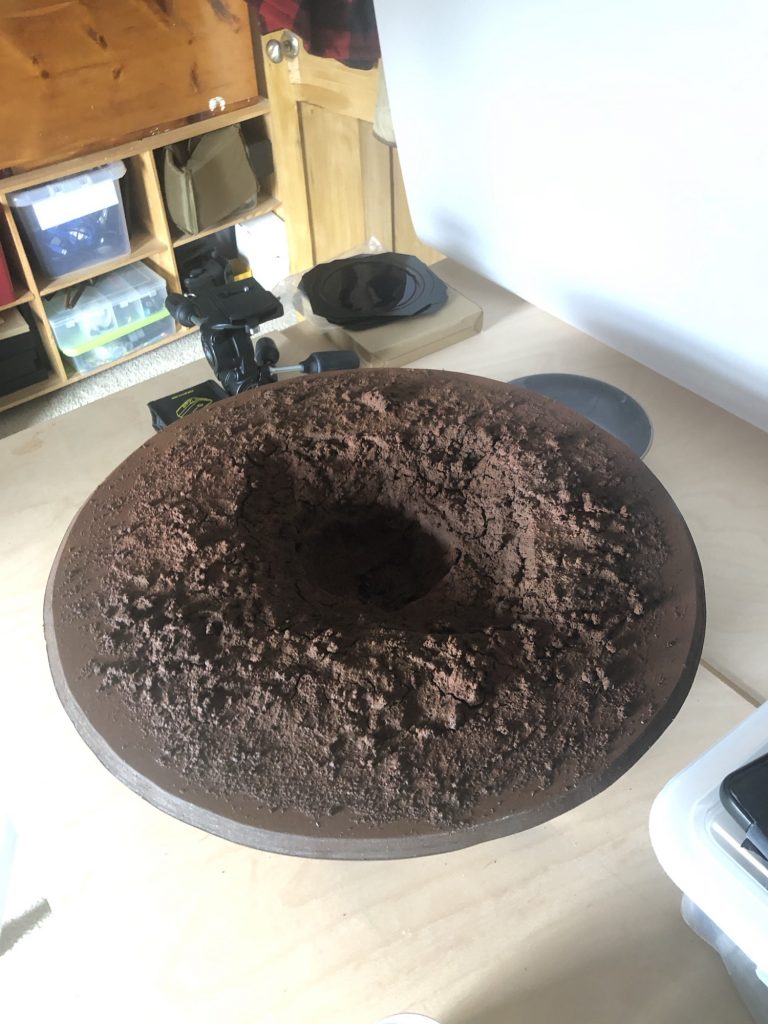
Thought out the DYCP project I’ve been refining my photo scanning workflow, which starts with capturing objects under cross light on a black background. This helps separate the subject from the background and makes masking easier.
Process overview:
Image prep – All photos are masked and cleaned in Capture One Pro to remove background noise and balance the exposures. Reconstruction – Depending on the complexity of the object, I build the 3D model in either RealityCapture or Zephyr. Cleaning & refinement – The mesh is exported into 3D Coat, where I can polish geometry, smooth out artefacts, and repair surface detail. I also import the textures here, so the model can be treated as a paintable object if needed. Export for engine – Once the clean-up is done, I export the model back out, rebuild texture sets, and prepare it for Unreal Engine. Integration – Finally, the asset is brought into the level in Unreal, where the textures are baked in and the model sits as a finalised piece.
It’s a fairly involved chain, but the polishing stage in 3D Coat makes a huge difference. Each step adds clarity and detail, and by the time it’s inside Unreal the model feels far more resolved than the raw scan.

I’ve been slowly refining my photogrammetry workflow — basically going from capture through to polish and then into Unreal. At this point I’ve got a mix of tools that I lean on depending on the job: RealityCapture as the main workhorse, Zephyr as a backup when things get messy, and 3DCoat 2025 for cleaning and optimisation. It’s not a perfect pipeline yet (some exports don’t play nicely with Unreal), but step by step it’s getting tighter. Here’s how I’m running it at the moment:
Process notes:
Capture → Take photo sets (ideally with cross-polarised lighting to cut reflections). Reconstruction → Build the high-res mesh in RealityCapture; fall back to Zephyr if needed. Cleaning → Pull the mesh into 3DCoat, remove noise/artefacts, and smooth problem areas. Optimisation → Decimate the poly count, then retopologise for clean geometry. Baking → Bake textures and details into texture maps. Export → Export FBX + textures. If Unreal throws errors, re-export through Zephyr. Import to UE5.6 → Bring assets into Unreal, rebuild textures/shaders, drop into environment.
The idea is simple: start with a hi density scan, and end with a game-ready prop that still holds on to the detail and character of the original object.